
In my last blog (A Guide to Sourcing, Storing, and Working with Greenwood), I mentioned harvesting greenwood in passing. Today, we’ll focus on how to harvest greenwood, especially for crafting wooden bowls, although the information will be useful for all greenwood users.
Safety is crucial if you own or have access to woodland and plan to cut trees yourself. Proper chainsaw training is recommended. You’ll require a license if you’re using the chainsaw for commercial activities. Additionally, always consider the safety of others nearby.
For those who don’t own woodland, partnering with professionals like tree surgeons is a common way to obtain quality wood.
Greenwood Essentials:
- Freshness: Greenwood works best when it’s newly cut. For example, cherry can turn brittle so that it appears to ‘shatter’, making it tricky to work with.
- Volume: Size up your wood. Crafting a bowl? Its depth will be capped at half the log’s diameter. Splitting the log and ditching the pith keeps those pesky cracks at bay.
- Quality: A log without cracks is worth its weight in gold. Those tiny cracks? They grow bigger as the wood dries.
- Knots: Clean logs, free from knots or branches, are a breeze. But if you’re feeling adventurous, knots can add character. A tip? Use superglue on knots to keep cracks in check. Adding the glue to the centre of a knot before you finish the bowl means you can clean off or remove any excess glue as you finish turning the bowl.
- Storage: Want your greenwood to last? Seal the ends. Something like PVA glue does the trick, slowing down the drying process.
- Spalting: It’s a fungal effect some woods exhibit. It can add a touch of artistry to your work, but don’t overdo it. Too much spalting softens the wood.
Essential Greenwood Tools:
While chainsaws have been mentioned, their intricacies warrant dedicated training from certified trainers. That said, several tools can make harvesting greenwood easier:
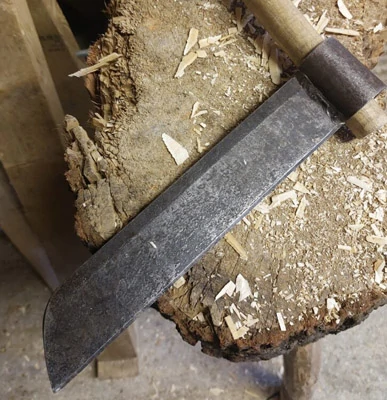
- Crosscut Saw: Ideal for cutting across the grain. Depending on the log size, options range from greenwood crosscut saws to folding varieties.
- Rip Cut Saw: Tailored for cuts aligned with the grain, particularly when precision is paramount.
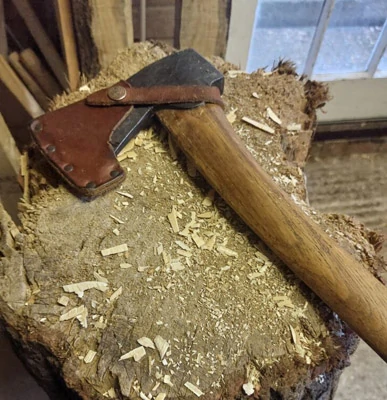
- Axe: Although plenty of information exists on axe selections and whether you should invest in an expensive axe, an affordable and effective axe suffices for most tasks. Balance and weight are considered when selecting, especially for specific projects like bowl turning.
- Froe: Perfect for splitting wood, a froe offers the ability to guide the split with precision.
- Maul: Essentially a hefty piece of wood, often shaped or fitted with a handle, it aids in splitting tasks when paired with a froe or wedges.
- Wedges: Metallic wedges, designed for splitting, often outperform froes when dealing with larger logs.
- Chopping Block: I probably use the chopping block more than any other tool. In it’s most basic a log turned on its end can be used as a chopping block. I have a simple design – an end grain log held by three legs.

In Conclusion
The journey into greenwood craftsmanship is an enriching blend of artistry and science. You can elevate your projects from simple tasks to masterful creations with the appropriate tools and knowledge. To deepen your expertise, consider joining me on a bowl-turning course. Alternatively, search www.bodgers.org.uk to find your local greenwood group. So, why wait? Step up your game and join us at an upcoming greenwood gathering. Embark on the next chapter of your craft journey.