Milk paint has been used throughout the ages with early examples surviving from ancient Egypt. It has recently become more popular with interior decorators and craftspeople. Its aesthetic finish and non-toxic appeal to many today.
I like milk paint as it fits well with the rustic feel of the handmade bowls I make. The way the surface ages only adds to the appeal, and as milk paint is waterproof and fairly tough it’s also an ideal way to finish a wooden bowl.
In this article, I will go step by step on how I make and use milk paint.
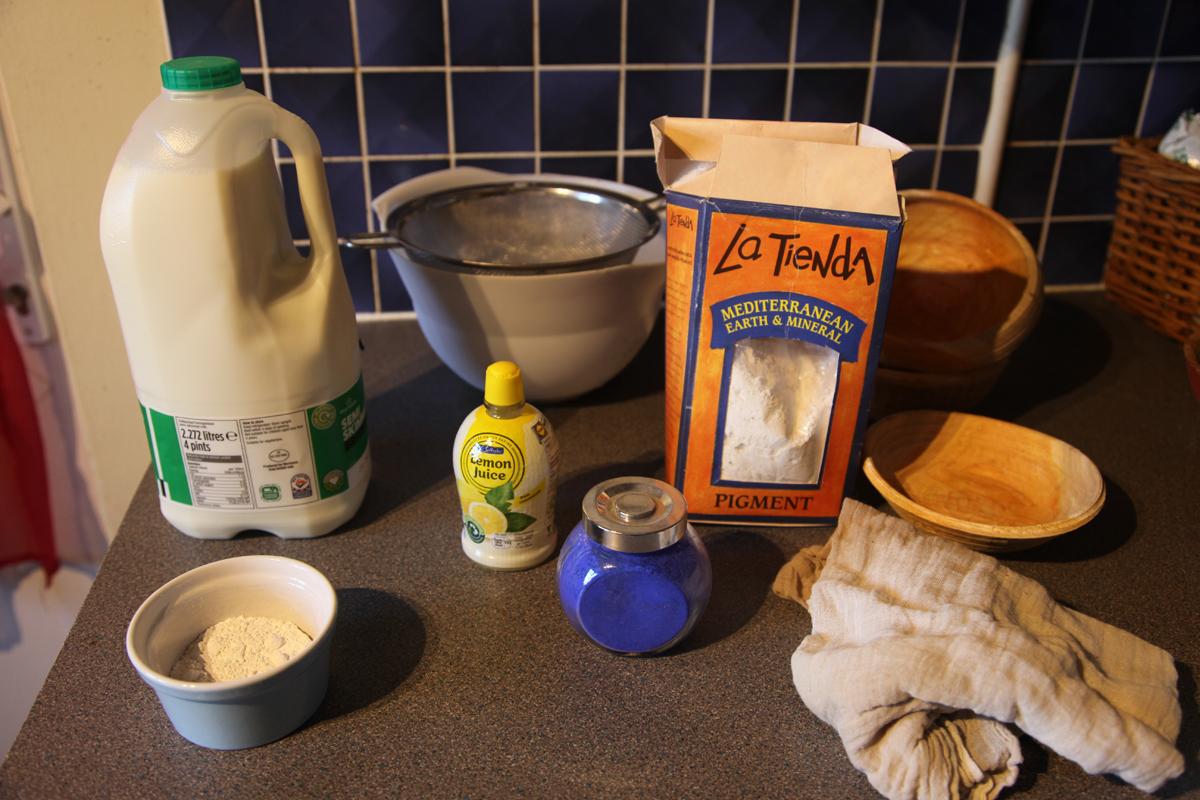
Items needed to make milk paint
Most of what you need is already in your kitchen. The only exceptions are hydrated lime and the pigment. You can get hydrated lime from a builders’ yard. Milk paint pigments are available online or from a craft shop.
Ingredients:
- 1 pint of semi-skimmed / skimmed milk
- A large dash of lemon juice
- 20 grams of hydrated lime
- Colouring / pigment
Equipment:
- Bowl
- Measuring jug
- Sieve
- Cheesecloth
The process I am outlining is for a small amount of milk paint – I’m only using 1 pint of milk. This is because I only needed a little. I think most recipes are for 4 pints of milk.
Step one:
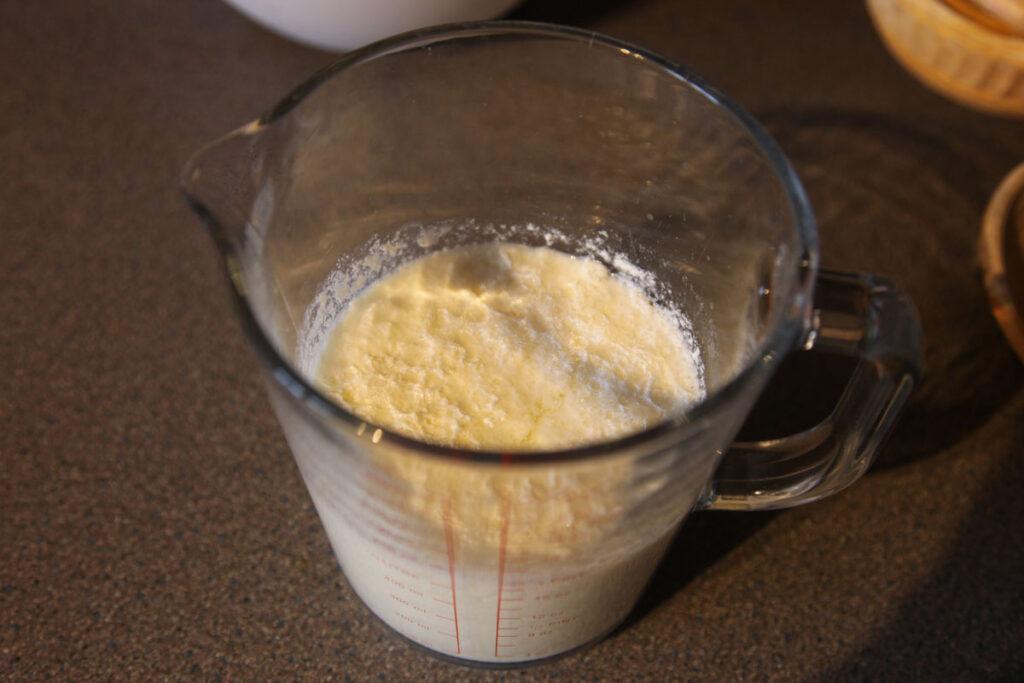
Allow 1 pint of semi-skimmed or skimmed milk to come to room temperature. Then mix in some lemon juice. This will cause the milk to curdle. Leave this for 24 hours are room temperature.
Step two:
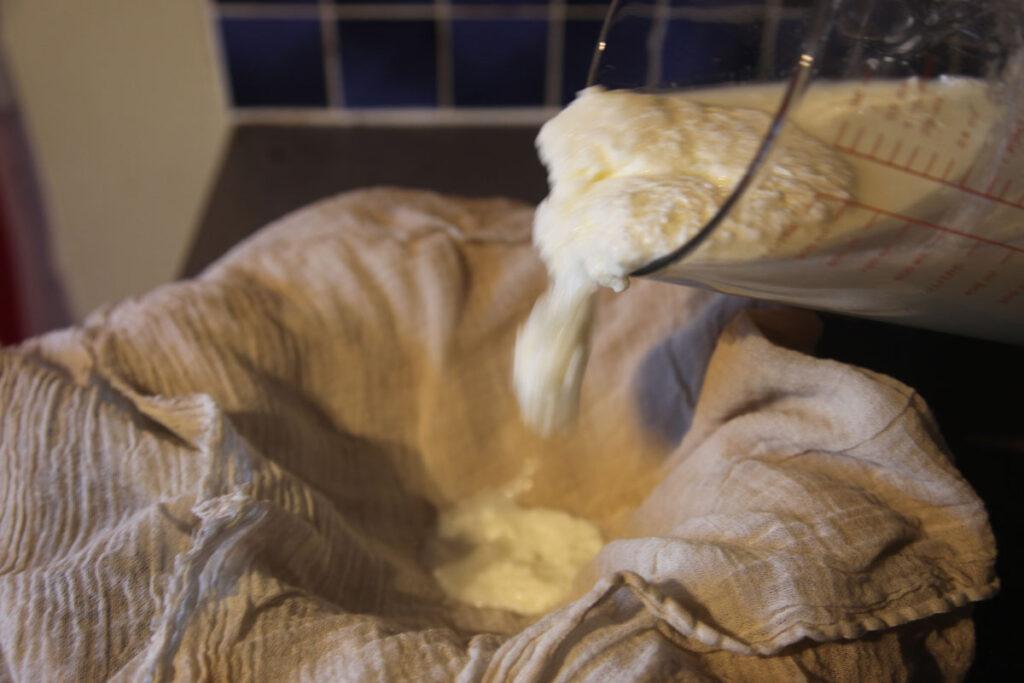
Strain the curds and whey through your cheesecloth. You will need to keep the curd or quark. Allow any excess liquid to drain off.
Step 3:
Add a few drops of water to the hydrated lime so that you can mix it into a smooth paste. Then add this to the quark and mix thoroughly.

Step 3:
I split my mixture into two containers. This is to allows me to create different coloured milk paint.
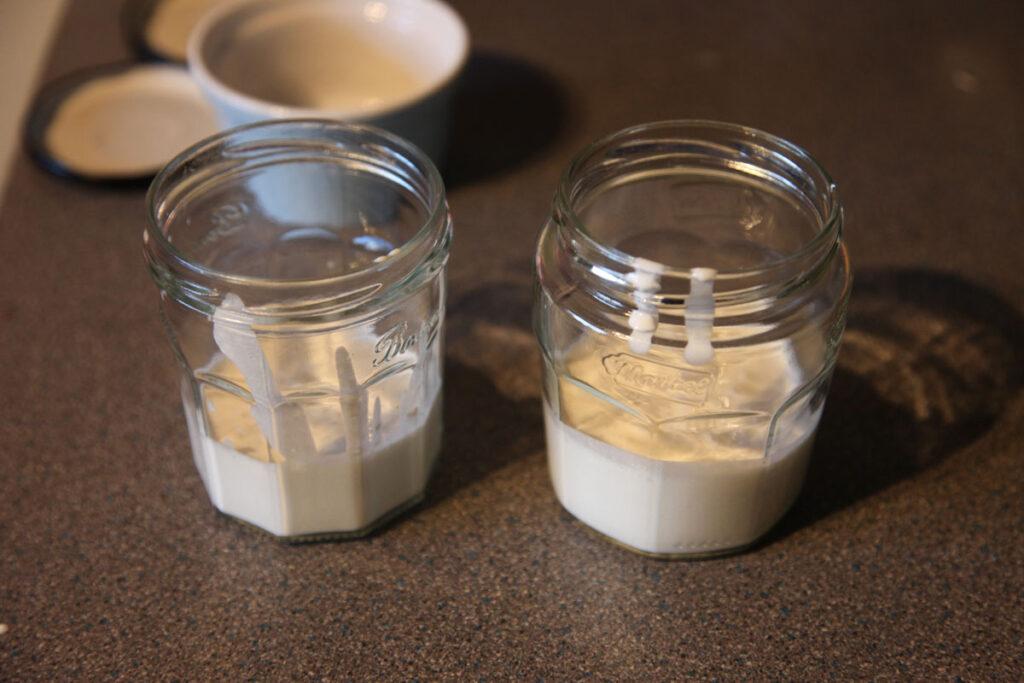
Step 4:
Add the pigment – for such a small amount of paint, you can add the pigment directly to the mixture. For larger quantities, I would add a little water to the pigment so you can make a smooth paste that you then add to the paint.

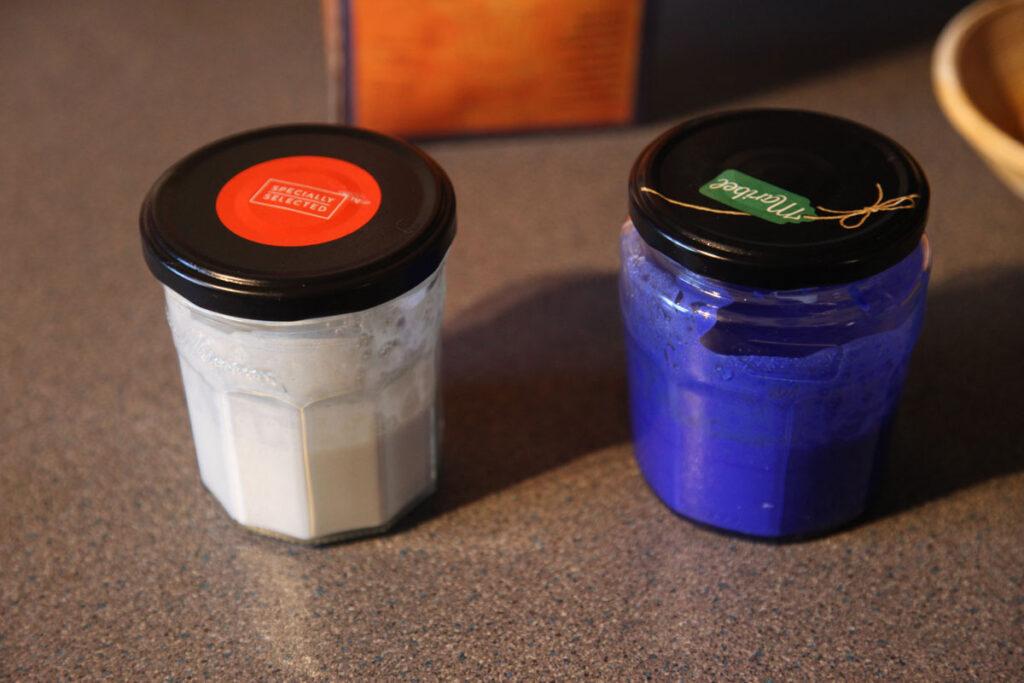
I now have white and blue paint ready to use. These will be okay to use for the next few days (which is why I only make a small quantity).
Applying the milk paint
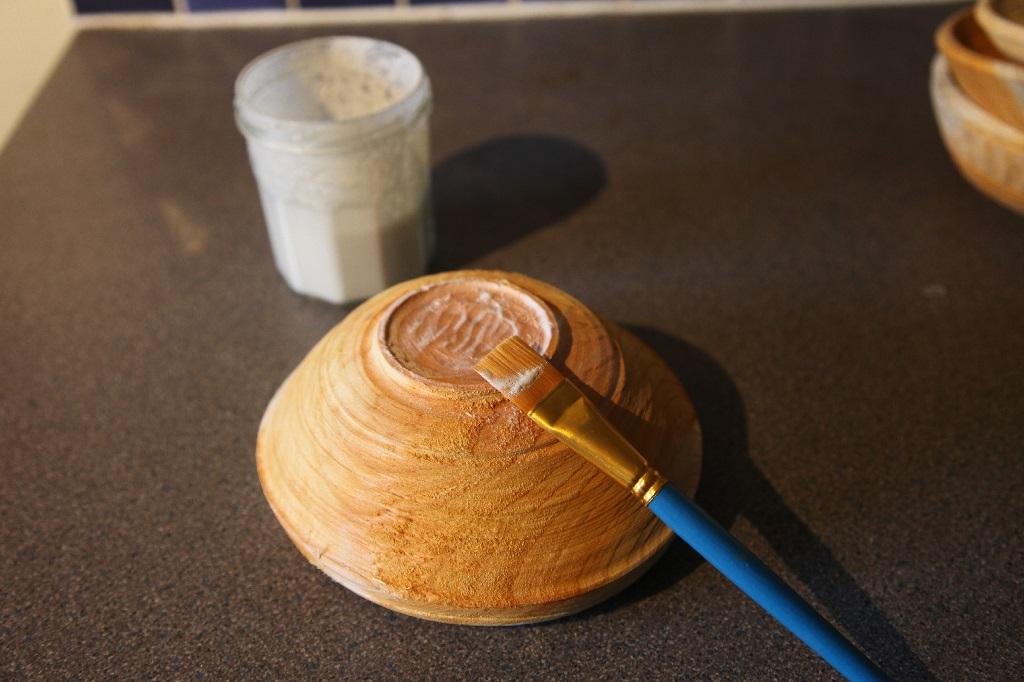
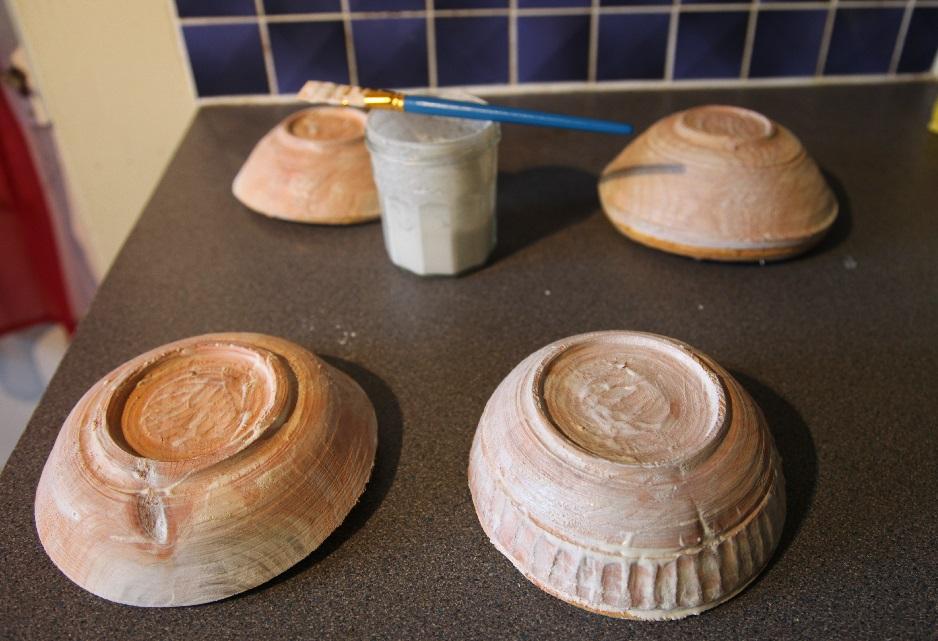
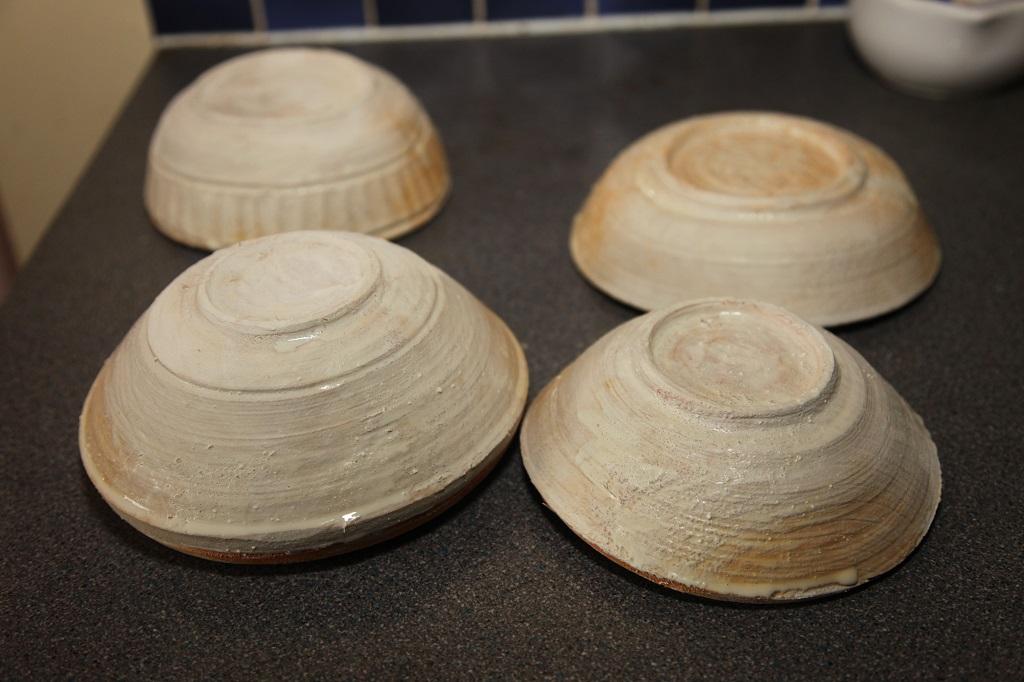
All you need to apply milk paint is a clean surface, a clean dry brush, and a little patience. The paint I made required repeated applications to ensure good coverage. As each coat dries quickly you can soon move on to the next coat. I started with a white base coat, it will become apparent why shortly.
Top coat and final finish
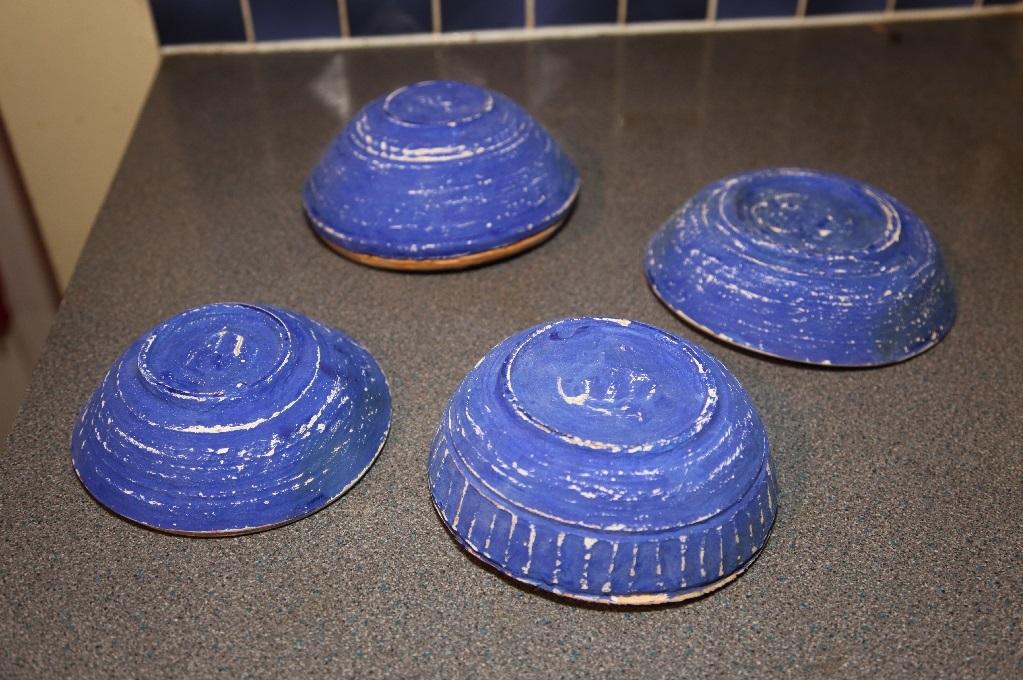
The final colour I went for was blue. As you can see in the following image it’s a vibrant colour that contrasts well with the interior of the bowl.

Once the final coat of blue has dried, I took a piece of sandpaper and used it to remove some of the topcoat and undercoat, resulting in the following finish:
The last step before drying is to oil the bowl. I use food-safe walnut oil. Walnut oil is a polymerising oil meaning it will help protect the bowl’s finish and improve the bowl’s appearance, as can be seen below.

Products used in this Article
JB Woodcrafts participates in the Amazon Services LLC Associates Program, an affiliate advertising program designed to provide a means for sites to earn advertising fees by advertising and linking to Amazon.com.